50 Tips from the Pros for Better Video Production
Really useful tips for videographers, communicators and filmmakers.
14 minute read
We’ve compiled this list of 50 practical tips from our video production studio. These recommendations will help you dramatically improve the quality of your videos. Use these tips when you shoot a video yourself or with your marketing or communications team. Learn tricks of the trade to shorten project times with targeted preparation techniques. Get advice from our experts on audio components, optimal lighting, and the best equipment. Let’s get started!
The tips are divided into the following topic blocks:
1. Preparation tips.
2. Audio tips.
3. Production tips.
4. Screencasting tips.
5. Preparation.
Have you ever renovated a house? Then you know how important good preparation and planning of the construction work is. It’s the same with videos and movies: video production preparation is tremendously important to create better videos.
Example of a well-planned out corporate video produced by Fullframe Creative for the Swiss packaging company BOBST, near Lausanne, Switzerland.
The Preparation Stages
1. Plan your video. A good plan is the foundation of any project. The time invested in planning will pay off. You’ll save time, money, and avoid a lot of problems in the first place if you plan ahead accurately.
2. Practice the process. Which work process works best for you? If you find that a script helps you, make that routine for all video projects. Use a checklist to keep track of all the detailed tasks and not forget anything. If you don’t have experience, Google what video creation workflows are typical. Try out what works best for you. Practice makes perfect.

3. Set the goal. What do you want to accomplish with your video or homemade film? Do you want to increase awareness of your branded products or inform viewers about your service offerings? Define this objective from the start.
4. Get to know your viewers. Where are viewers located, what is their connection to the topic? Do you want to show your video to internal employees, customers or prospects? What emotional responses do you want? Consider which platform you will showcase your video on and where your viewers are most likely to watch, share and comment. Perhaps make different versions for Facebook, YouTube, and other social networks like Instagram or Pinterest, and tailor the messaging accordingly.
5. Write a script. Of course, you can also just turn on the camera and go for it (especially if you’re recording with your smartphone). A script is almost always useful, unless you might be recording live at events. As you write it down, you’re bound to think of important details about how you want to structure your video. It’s much easier (and less expensive!) on paper than later after production. Even a script that contains only rough bullet points will help you structure content more clearly and present it better.
6. Make a storyboard. Don’t worry, you don’t have to have artistic talent. Simple stick figures and shapes (circles, squares) will do. Along with your script, these visual notes will help you better plan your video. Instead of filming on the fly, sketch out in advance what scenes you want to have. Think about what shooting angles would be best, whether you want to do close-ups, and who or what should be in the frame. This visual preparation will save you a lot of time, both in shooting and editing. You will like the finished videos much better. Check out a sample storyboard at FullframeCreative for inspiration

7. Collect all the media in advance. Do you have all the logos? Are there any visual elements or music clips that you absolutely need to include? The editing process will be much easier if you organize all media before recording and production.
8. Ask for feedback. Show your script and storyboard to your colleagues. Feedback from colleagues and friends will help you identify gaps or errors in the script and correct them before recording. Constructive criticism and comments are encouraged and very helpful. At this stage, you should also already check whether all company-specific wording and slogans have been correctly adhered to. The branding must be right from the start, and anything that viewers might not like must be avoided.
9. Get to know the filming location in advance and do test shots. If you are not shooting at a familiar location, visit the location before the shooting date. Check whether the expectations match the actual conditions. Take a few test shots via video or as photos that you can use for your storyboard at the same time. If the shooting location is too far away, try to organize a virtual tour.
10. Plan two dates for outdoor shoots. Rain is far from ideal for video shoots. If you’re shooting outside, you can then use the later alternate date in case of inclement weather. And to be on the safe side, you can schedule a backup indoor location for the second shoot.
Audio in Video Production
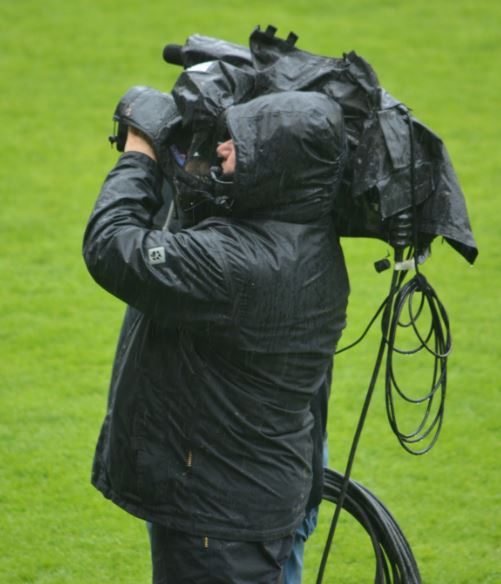
Video may be far superior to radio shows, but believe it or not, sound accounts for fifty percent of video ratings. Spoken commentary or dialogue is the most important component of success in producing high-quality video. Poor audio affects video ratings more than any other factor. That alone is reason enough to always try to produce high-quality audio. Have a look at some of the equipment you can rent for the purpose.
Recording spoken commentary
1. For videos that don’t introduce people, record the spoken commentary first. After that, integrate the visual media so that it goes well with the audio. This works very well for screencasts, PowerPoint presentations, product demos, and other training videos.
Why is it so easy? It’s because audio files are less flexible than visual media. You can use B-roll footage to make a section longer, or remove image clips or cut video areas to make everything fit the audio. Changing the timing for a spoken commentary or dialogue after the fact is much more difficult. If you don’t realize until editing that an audio commentary should be longer or shorter, correcting it is complicated and takes a lot of time. It is better to avoid that.
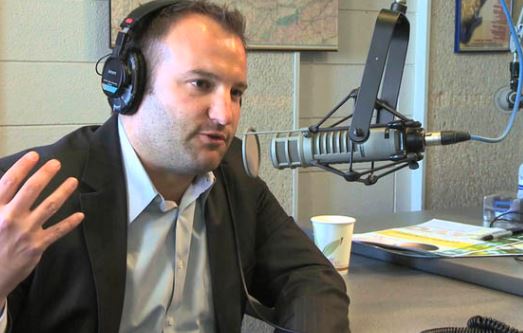
2. Record your own voice. You may think that your own voice doesn’t sound good, but to viewers, your voice sounds familiar and natural in the video. Speaking for yourself will save you a lot of money that you would otherwise have to spend on professional voice talent. If you want to establish yourself as an expert on a particular topic, it’s very important to come across as authentic. Your own voice is absolutely part of that!
3. Prepare yourself for the audio recording and do not drink coffee (or milk!) a few hours beforehand. Drink water instead. This loosens the vocal cords and your voice will sound better. Also, keep drinking water during the recording to get consistent sound quality. Do not record when you are hungry. Eat some healthy snacks beforehand to help you stay focused during the recording.
4. If you make a mistake, clap twice. Double claps show up on the timeline as deflections. This makes it easy to find the spot with the mistake later and edit it out.
The choice of microphone
6. Buy a good microphone. USB microphones are inexpensive and much better than the microphones built into the computer. Directional microphones work well if you don’t move your head, otherwise the sound will be lost, as these types of microphones only pick up audio from a limited area; nothing from the side. Headsets are a good mic choice and wireless Lapel mics also work well.
Be sure to stand when recording. Not only will you be able to hold the microphone easier, but you will get more air into your lungs and your voice will project and sound better.
7. Use a windscreen on your microphone. Sometimes such a filter is called a “spit filter.” This small guard makes sibilant and popping sounds (consonants like S, T, D, and P) slightly weaker. Without the filter, these sounds can otherwise sound irritating when singing and speaking.
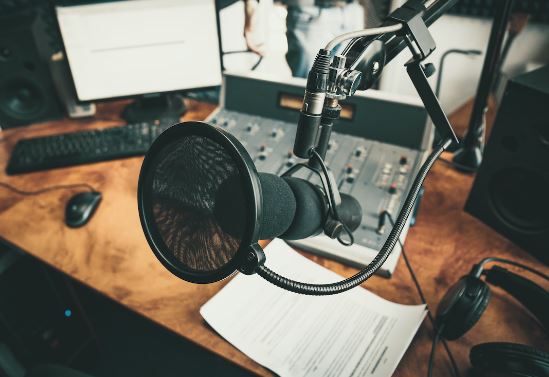
8. Test your microphone (and then preferably again!). This is one of the most important detailed tasks before recording. Audio quality is a very important factor in the success of your video. Position the microphone so that your voice sounds good. Too close to the microphone can cause distortion, too far away can sound impersonal and cold. Speaking a thumb’s length from the microphone works well in most cases. However, test this a few times to find the best recording position and volume.
9. Listen carefully to identify background noise. Fluorescent lights, heating, ventilation, air conditioning, and other electronic devices can interfere with recording. You can’t cut out all background noise, but do so as much as possible (don’t record right next to a loading dock or in a flight path). Some video producers record in libraries, small chambers, or under a ceiling. A quiet recording location makes audio editing much easier later.
10. While recording, check the recording level and adjust it in the system settings. The level should not swing too high or too low. Correct this before you start recording. Later, these setting errors are much harder to correct.
11. Music in the background should not be too loud. Good music that fits the subject sets the right scene, but should not dominate. Better to record without music if you have doubts. You don’t really need background music in most training videos (except maybe in an intro or outro clip).
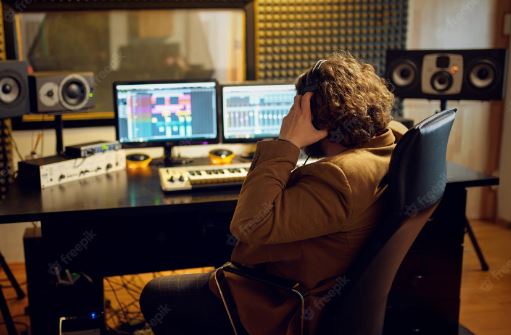
12. When you are done, test the playback. The audio should sound the same on different devices. Try out headset and speakers. Keep in mind how your audience will normally listen and optimize playback accordingly.
Video Production
The steps you take during the production of a film or video are the most difficult to undo. Here are important tips to avoid reshoots when you’re shooting a movie yourself or making a video blog….
1. Avoid shiny faces. Rice paper works well. Blot foreheads and cheeks and any areas that reflect light. Speakers should look their best, and it’s also easier to get the lighting right without shiny effects.
2. Make sure the lighting is perfect (no old-fashioned fluorescent lamps!). With the right lighting, shadows are avoided and speakers literally appear in their best light. Soft three-point lighting looks best. Compact fluorescent bulbs are also fine. Lighting can work wonders and completely change the mood of the scene.
3. Hide the microphone cables under your clothes. It looks more professional and neater. The same goes for other cables. They should not be visible on the recordings if possible.
4. You have only a small budget? Rent the equipment. This way you can test different equipment and find out what you like best. Experiment with different cameras, brands, mounts, lenses and other equipment before you decide to buy. Renting is also ideal if you need specialized equipment for a very special shot. But be careful: only rent equipment that you want to become familiar with.
5. Observe the rule of thirds. Imagine a frame divided into three vertically and horizontally and position your speakers on the far right or left and not always directly in the center. This looks more interesting. Vary the position during the recording to create a little variety.
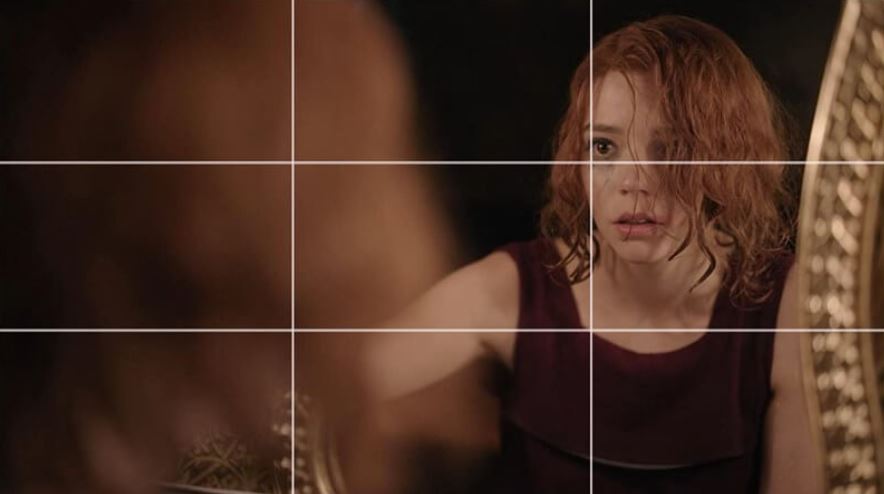
Take this scene from The Queen’s Gambit where Beth is placed in the far right of the frame, making it more interesting.
6. If you have more than one camera, record with two cameras at the same time. This way, you can later combine shots from two different angles. This gives you more leeway in editing, looks more interesting, and appears more natural than just one perspective. You don’t necessarily need two digital SLR cameras. Use the “good” camera for the first angle and your smartphone for the second.
7. Shoot a lot of B-roll footage. It’s easy to forget, but these extra clips are wonderful for making the story more exciting and realistic. Take a few shots that fit the theme well, showing the work environment or cultural atmosphere. Shoot things that illustrate the theme well or even do a time-lapse shot. You’re guaranteed to need more B-roll footage than you think. Let your creativity run wild. You can take many of these B-roll shots before the official shooting date.
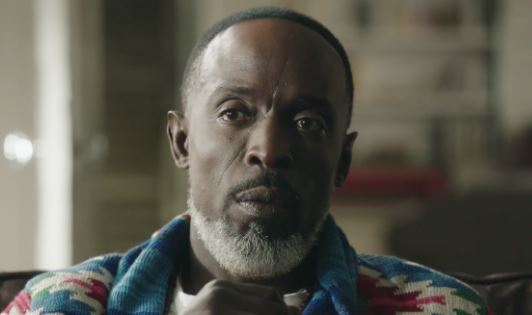
Natural close-up with actor, Michael K. Williams.
8. Go for close-up. Make an interview more interesting with close-ups of the speaker. Show other elements in focus from time to time. This may be unusual and feel strange, but in the end you’ll be glad you really brought the subject and speaker close to the audience. Avoid digital zooming, as it can look pixelated and the result is disappointing. Really get closer or use optical zoom (adjusting the lens).
9. Make short recordings. Short clips are easier to organize and edit. Interviews are the only exception. You never know beforehand exactly what your interviewer will say. Keep the camera rolling so you don’t miss a great quote. Movement is important.
10. Add variety to the interview. Movement is important. Plan different shots from different angles, with different scene setups, close-ups, shots from further away, and lots of B-roll clips.
Color and text
11. Show annotations and text on the screen. This allows you to selectively underscore important statements, summarize key arguments, or provide additional information. Text should never take center stage, however, and should always have clear reference to the audio. Listening and reading at the same time can be exhausting for viewers and distract from the actual content.
12. What you see through the lens doesn’t necessarily look the same in the film. Make color corrections during editing if necessary. Try to make the film shots as natural as possible. For example, a white balance can help even out yellow light during shooting. Sometimes color enhancements help tell a story more dramatically (for example, black and white for scenes from the past or shades of green for science fiction).
13. When showing a PowerPoint presentation, do not show the speaker as picture-in-picture. Rather, switch back and forth between slides and the speaker. This shows the expert much better and the audience also sees the facial expression and gestures, which looks much more authentic.
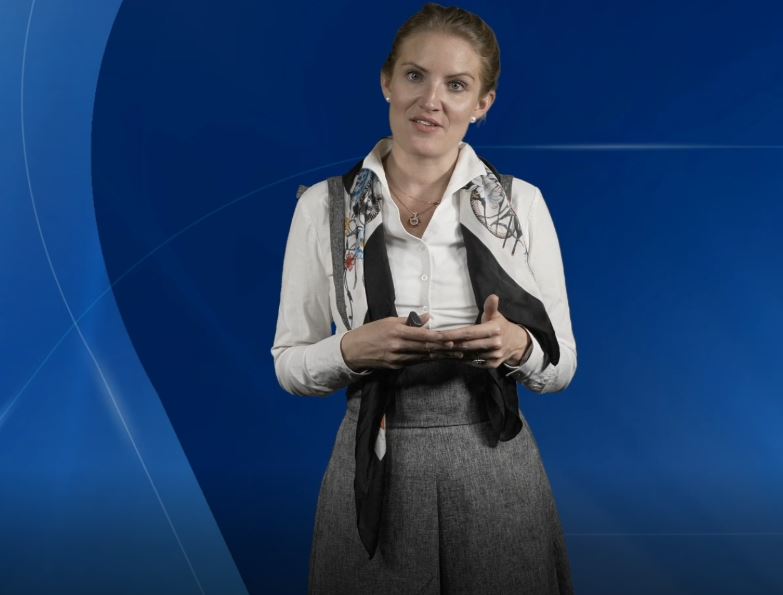
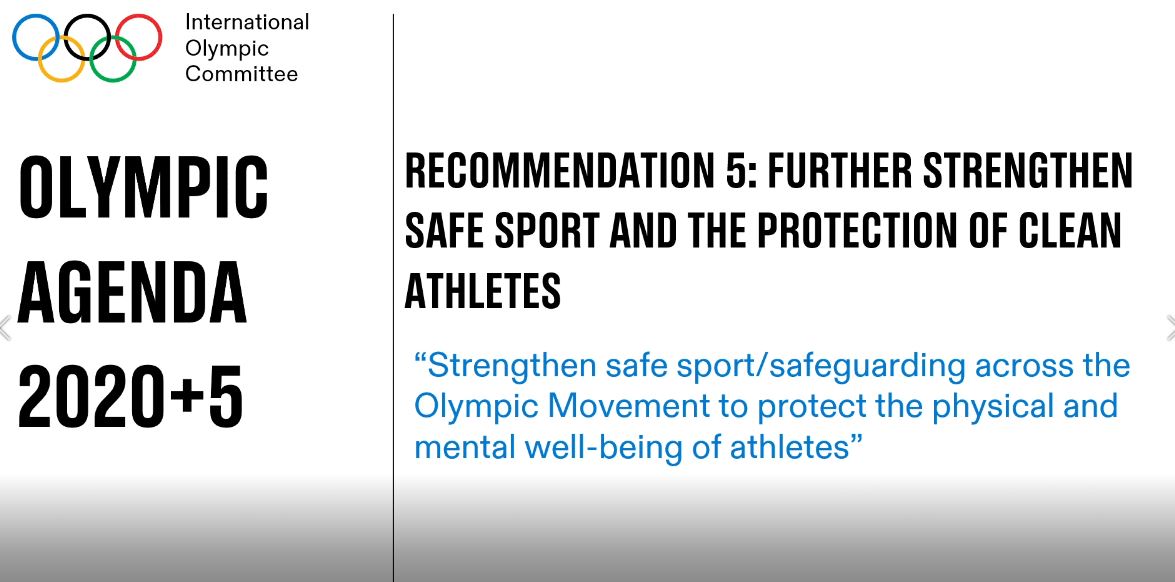
For example, take these tills from a shoot we did with ITA for their training videos. We alternate between speaker and slides.
14. Use consistent color palettes and designs in your videos. Try different background colors, clothing, fonts, and props to make your point and tell your story.
15. Text callouts are good, but use such blocks of text sparingly. Watching and reading is exhausting. Text, however, can explain interesting details and reinforce certain points. Viewers will also remember the content better.
Transition effects
1. Choose simple transition effects such as Dissolve or Fade to Black. Most other transition effects look a bit overdone. Starwipe? No, please don’t. If you use complicated transition effects, then the transitions should clearly fit the story. For example, show a rotation effect that symbolizes how time passes.
2. Green screen must look good. The lighting for the environment and the speakers must be just right. It’s easy for things to go wrong (weird shadows, incomplete color removal, transparent areas, etc.) However, these types of shots can be a lot of fun, but don’t overdo it. This technique also needs to fit the video content and theme.
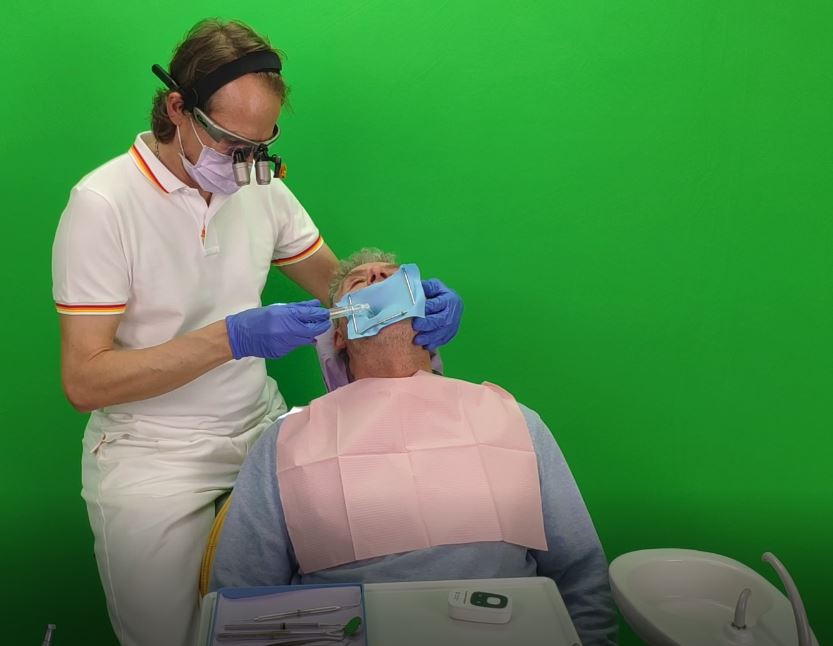
3. Don’t just replace the background. Use the greenscreen in creative ways – show interactions (the speaker points at something or makes a touch gesture to create the illusion that giant apps are being used). Show silhouettes in inverted color or bring the background into play in other ways.
4. Make clips move faster or slower. Use this technique to visualize elapsed time or show long processes faster. Clip speed is a parameter that can dramatically change the dynamics of your video.
5. Make videos with subtitles! These play a particularly important role in search engine optimization because, for example, Google and other search engines can only read the searchable text associated with the video (title, description, identifiers, and subtitles). Subtitles ensure that your video is also found and, more importantly, subtitles make your video accessible and accessible to the hearing impaired. Many viewers watch videos without sound, for example on the go on their smartphones. With subtitles, they can still understand the context.
6. Choose the right recording dimensions. Where will your video be shown? At what size will it play? You should know this before you start recording and choose dimensions accordingly. Take special care that your capture dimensions are proportional to the output. If your finished video will be viewed at 1280×720, record larger (with the same aspect ratio) or record with the same dimensions.
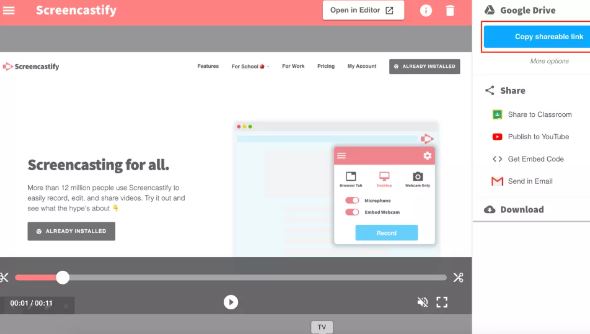
Screencastify is a great tool and you can learn all about it here.
7. Screen recordings (including from smartphones) are ideal for creating tutorials and video tutorials or showing process flows. When you showcase your company’s products and service offerings in videos, you increase awareness and strengthen customer loyalty.
Neat screen recording
1. Clean up your desktop before recording. Remove icons and background images that would only distract your viewers. Close all browser windows that you don’t need for the demonstration. It’s best to make a desktop profile specifically for video recording that doesn’t show any of your personal information. This will save you a lot of time and you can always switch easily if you need to record something quickly.
2. If you do use your own profile, then only show programs that you need for recording. You should hide or close all others on the desktop or in the dock so as not to distract viewers from the actual content. This also applies to toolbars, bookmarks, URLs, and other browser elements that make the screen look cluttered. Minimize or close anything that doesn’t directly belong to the shot (you can reset the desktop later).
3. Turn off all notifications before recording. Email, Twitter, Facebook and other apps are extremely distracting when these notifications suddenly appear on the screen during recording. Disable all notifications before recording (later you can re-enable these popups if you still want to).
4. A good practical tip is to plug the laptop into the wall socket. If the battery dies in the middle of recording, you may lose all or part of your video. Battery life warnings can also disrupt a screen recording or render it useless altogether. Better to be safe than sorry and plug in your laptop via cable.
5. Mouse cursor. If you are recording the cursor, move the mouse slower than usual. Set the speed down in the system settings. This may seem too slow at first, but it will make it easier for viewers to follow your movements. Frantic clicking around is confusing, distracts from the topic at hand, and frustrates learners. Move the mouse selectively and not too quickly. Your video will be much better that way.
Mark the cursor position when you pause your recording. Place a sticky note on the screen to mark exactly where the cursor was last seen. This allows the recording to continue without “bouncing”.

6. When you explain something on the screen, do not circle the place with the mouse. The cursor is not a laser pointer and viewers find such circling cursors rather boring.
Make the cursor larger. This makes it easier for viewers to follow where you are clicking and what you are doing on the screen. Pro tip: Some screecapture software can record all cursor data as well, so editing the cursor afterwards is also possible.
Conclusion
If you need a hand with video production in Lausanne or Geneva, Switzerland, we’d be delighted to help. Fullframe Creative has over 10 years of experience and hundreds of productions to its name. We specialize in corporate video but check out the full list of our video production services here.
Spark up your Image!
Stand out for all the right reasons.
We help you communicate in a clear, creative and comprehensive manner.